The Android Emulator is a powerful tool for testing Android applications without needing a physical device. It simulates a real Android environment on your computer, allowing you to test your app on various devices, screen sizes, and Android versions. In this guide, we'll walk you through how to set up and use the Android Emulator to test your apps efficiently.
Step 1: What Is the Android Emulator?
The Android Emulator is an integral part of the Android Studio development environment. It allows you to simulate Android devices on your computer, complete with hardware and software configurations. Using the emulator, you can:
Test apps on different Android versions.
Emulate devices with various screen sizes and resolutions.
Debug apps and identify issues before deploying to a physical device.
Step 2: Setting Up the Android Emulator
Install Android Studio:
If you haven't installed Android Studio yet, download it from official resources and go through with installation instructions.
Open the AVD Manager:
Click the AVD Manager - the Android Virtual Device Manager on the right top-hand side or under Tools on top > Device Manager.
Develop New Virtual Device
In your AVD Manager, choose New Virtual Device.
Choose a hardware profile to match the device type you want to emulate. The options are a Pixel phone or a tablet.
Tap Next
Select System Image:
Select an Android version (API level) and download the corresponding system image if it is not installed
Tap Next
Configure Emulator:
Set the orientation, scale, and RAM size for your virtual device. Leave most of the settings set to their default values
Tap Finish to create the virtual device.
Start the Emulator:
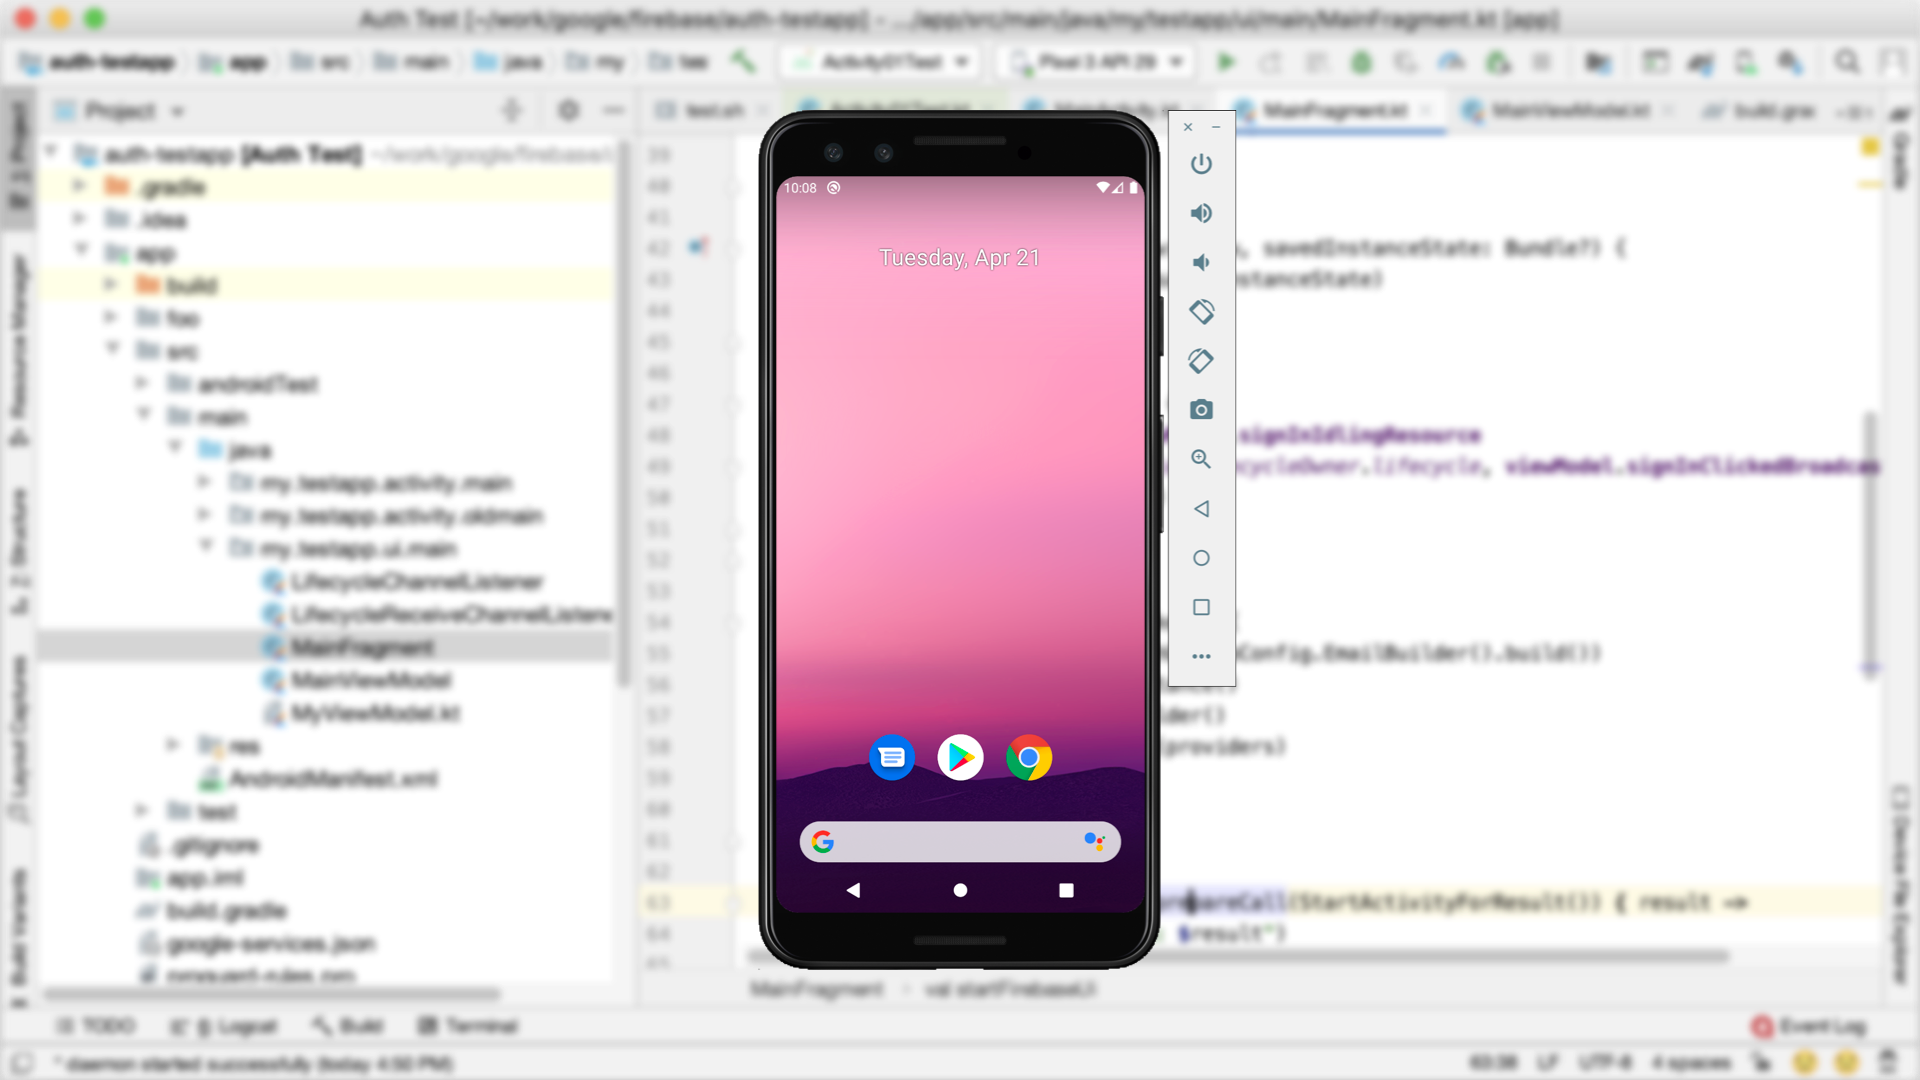
In the AVD Manager, click the green Play button next to the virtual device to start the emulator.
Step 3: Running Your App on the Emulator
Build and Run Your App:
Open your Android project in Android Studio.
Click on the green Run button (or press Shift + F10).
Choose the emulator from the list of available devices.
The app will compile and install on the emulator.
Interacting with the Emulator:
Use your mouse and keyboard to interact with the emulator as you would on a touchscreen device.
Test all UI components, navigation, and functionality.
Step 4: Using Emulator Features for Testing
The Android Emulator comes with several built-in features that will help you test your app thoroughly:
Rotating the Screen:
Test how your app behaves in both portrait and landscape orientations.
Click the Rotate Screen button in the emulator toolbar.
Simulating Different Network Conditions:
Test your app's behavior under different network conditions.
Extended Controls (three-dot menu in the toolbar)
Cellular Tab
Select network conditions, such as Edge, 3G, or LTE.
Simulating Location Data:
If your app relies on location services, you can offer mock GPS coordinates.
Open the Extended Controls
Location Tab
Enter latitude and longitude values
Testing with Multiple Devices:
You can create multiple virtual devices in the AVD Manager to test your app on different screen sizes, resolutions, and Android versions.
Debugging:
Use Android Studio's Logcat tool to view logs and debug issues while your app is running on the emulator.
Step 5: Tips for Efficient Testing on the Emulator
Allocate More RAM:
If your computer has enough resources, allocate more RAM to the emulator for better performance. Adjust this in the AVD Manager settings for your virtual device.
Use Snapshots:
Enable snapshots in the AVD configuration to save the emulator's state. This speeds up startup by resuming from the saved state instead of a cold boot.
Install APKs Directly:
If you have an APK file, you can drag and drop it on the emulator window to install it right away.
Use Keyboard Shortcuts:
Familiarize yourself with emulator keyboard shortcuts to save time:
Ctrl + F11: Rotate screen.
Ctrl + Shift + F: Toggle fullscreen mode.
Test on Older Android Versions:
Make sure that your app is backward compatible by testing it on older Android versions that your app supports.
Step 6: Advantages of Using the Emulator
No Need for Physical Devices:
You can test on various device types and configurations without needing to own multiple physical devices using the emulator.
Quick Iterations:
You can quickly make changes in your app and test them immediately on the emulator.
Simulated Scenarios:
The emulator lets you simulate scenarios like low battery, network disruptions, and system crashes that are hard to test on physical devices.
Flexible Configuration:
You can build specific devices with particular screen sizes, resolutions, and hardware profiles.
Step 7: When to Use Physical Devices Instead
Even though the emulator is an extremely strong tool, there are cases where a physical device might be required:
Performance Testing: The emulator does not really show real-world performance.
Hardware-Specific Features: Camera, fingerprint scanner, gyroscopes, etc., should be tested on actual devices.
Battery Consumption: The emulator doesn't simulate real battery usage accurately.
Physical devices really tell in real-life ways the experience of an application while on a user's hand.


No comments:
Post a Comment