Monday, December 23, 2024

How to Use the Android Emulator for Testing Apps


The Android Emulator is a powerful tool for testing Android applications without needing a physical device. It simulates a real Android environment on your computer, allowing you to test your app on various devices, screen sizes, and Android versions. In this guide, we'll walk you through how to set up and use the Android Emulator to test your apps efficiently.


Step 1: What Is the Android Emulator?

The Android Emulator is an integral part of the Android Studio development environment. It allows you to simulate Android devices on your computer, complete with hardware and software configurations. Using the emulator, you can:


Test apps on different Android versions.

Emulate devices with various screen sizes and resolutions.

Debug apps and identify issues before deploying to a physical device.

Step 2: Setting Up the Android Emulator

Install Android Studio:

If you haven't installed Android Studio yet, download it from official resources and go through with installation instructions.


Open the AVD Manager:


Click the AVD Manager - the Android Virtual Device Manager on the right top-hand side or under Tools on top > Device Manager.

Develop New Virtual Device


In your AVD Manager, choose New Virtual Device.

Choose a hardware profile to match the device type you want to emulate. The options are a Pixel phone or a tablet.

Tap Next

Select System Image:


Select an Android version (API level) and download the corresponding system image if it is not installed

Tap Next

Configure Emulator:


Set the orientation, scale, and RAM size for your virtual device. Leave most of the settings set to their default values

Tap Finish to create the virtual device.

Start the Emulator:


In the AVD Manager, click the green Play button next to the virtual device to start the emulator.

Step 3: Running Your App on the Emulator

Build and Run Your App:


Open your Android project in Android Studio.

Click on the green Run button (or press Shift + F10).

Choose the emulator from the list of available devices.

The app will compile and install on the emulator.

Interacting with the Emulator:


Use your mouse and keyboard to interact with the emulator as you would on a touchscreen device.

Test all UI components, navigation, and functionality.

Step 4: Using Emulator Features for Testing

The Android Emulator comes with several built-in features that will help you test your app thoroughly:

Rotating the Screen:

Test how your app behaves in both portrait and landscape orientations.

Click the Rotate Screen button in the emulator toolbar.

Simulating Different Network Conditions:

Test your app's behavior under different network conditions.


Extended Controls (three-dot menu in the toolbar)

Cellular Tab

Select network conditions, such as Edge, 3G, or LTE.

Simulating Location Data:

If your app relies on location services, you can offer mock GPS coordinates.


Open the Extended Controls

Location Tab

Enter latitude and longitude values

Testing with Multiple Devices:

You can create multiple virtual devices in the AVD Manager to test your app on different screen sizes, resolutions, and Android versions.


Debugging:

Use Android Studio's Logcat tool to view logs and debug issues while your app is running on the emulator.


Step 5: Tips for Efficient Testing on the Emulator

Allocate More RAM:

If your computer has enough resources, allocate more RAM to the emulator for better performance. Adjust this in the AVD Manager settings for your virtual device.


Use Snapshots:

Enable snapshots in the AVD configuration to save the emulator's state. This speeds up startup by resuming from the saved state instead of a cold boot.


Install APKs Directly:

If you have an APK file, you can drag and drop it on the emulator window to install it right away.

Use Keyboard Shortcuts:

Familiarize yourself with emulator keyboard shortcuts to save time:


Ctrl + F11: Rotate screen.

Ctrl + Shift + F: Toggle fullscreen mode.

Test on Older Android Versions:

Make sure that your app is backward compatible by testing it on older Android versions that your app supports.


Step 6: Advantages of Using the Emulator

No Need for Physical Devices:

You can test on various device types and configurations without needing to own multiple physical devices using the emulator.


Quick Iterations:

You can quickly make changes in your app and test them immediately on the emulator.


Simulated Scenarios:

The emulator lets you simulate scenarios like low battery, network disruptions, and system crashes that are hard to test on physical devices.


Flexible Configuration:

You can build specific devices with particular screen sizes, resolutions, and hardware profiles.


Step 7: When to Use Physical Devices Instead

Even though the emulator is an extremely strong tool, there are cases where a physical device might be required:


Performance Testing: The emulator does not really show real-world performance.

Hardware-Specific Features: Camera, fingerprint scanner, gyroscopes, etc., should be tested on actual devices.

Battery Consumption: The emulator doesn't simulate real battery usage accurately.

Physical devices really tell in real-life ways the experience of an application while on a user's hand.


"Find Out What Your Website’s Missing – Let’s Talk Today"

Friday, December 20, 2024

Your First Android App: A Beginner’s Guide


Step 1: Setting Up Your Development Environment

Before you start coding, you have to install Android Studio-the official IDE for Android development.


Download and Install Android Studio:


Visit the Android Studio website and download the installer for your operating system (Windows, macOS, or Linux).

Follow the instructions on the website.

Install SDKs and Tools:


Android Studio is offered with the Android SDK that contains all the necessary tools. This should be installed with the required virtual device for testing your apps.

Step 2: Create a New Project

Let's now create your very first app using Android Studio.


Open Android Studio :


Once you have installed it on your computer, open it and click on Start a new Android Studio project.

Configuration of Your Project:


Name Your App: For this tutorial, let’s call it MyFirstApp.

Choose a Project Template: Android Studio offers several templates for different types of apps. Select Empty Activity to keep it simple.

Set Language: Choose either Java or Kotlin as the programming language. For this tutorial, we’ll use Kotlin (the recommended language for Android development).

Select API Level: Pick the lowest API level that covers most Android devices. An API level of 21 is a good place to start.

Click Finish:

After filling in the configuration details, click Finish to create your project. Android Studio will now set up the project files and folders.


Step 3: Understand the Project Structure

Android Studio will generate a basic project with a few important files:


MainActivity.kt: This is the place where the app logic (Java/Kotlin code) will be. MainActivity is the entry point for your app.

activity_main.xml: This is a layout file where you can define the UI (buttons, text fields, etc.) using XML.

Step 4: Design the User Interface (UI)

Now let's design a simple UI for your app. We are going to create a TextView and use it to display a message, and a Button to change the message when clicked.


Open the activity_main.xml file: Navigate to res > layout > activity_main.xml. You’ll see a default XML layout with a ConstraintLayout.


Modify the layout: Replace the default XML code with the following code to add a TextView and a Button:


In this layout,

A TextView is used to present the message.

A Button lets a user change the text displayed upon clicking.

Preview the Layout:

You can preview the layout in the Design tab of Android Studio. It will display how your app's UI will look on a device.


Step 5: Add App Logic in MainActivity

Now, let's add functionality to the button. When the user clicks the button, the text in the TextView must change.


Open MainActivity.kt: In the src > main > java > com.example.myfirstapp > MainActivity.kt file, you will find the basic Kotlin code for your app.


Modify the MainActivity code: Replace the existing code with the following to implement the button functionality:


In this code;


findViewById gets references to both the TextView and Button,

setOnClicklistener is used, which will change the TextView text whenever the button gets clicked,

Step 6: Running Your App on an Emulator or a Device

Setting Up An Emulator:

If you do not have an actual Android device, you can use the Android Emulator. In Android Studio, open the AVD Manager (Android Virtual Device) and create a new virtual device to simulate an Android phone.


Run Your App:


Click the green Run button in Android Studio.

Choose your device or emulator.

Your app should now launch, showing the text "Hello, Android!" and the "Change Text" button.

Test Your App:

Click the Change Text button. The text should change to “You clicked the button!”


Thursday, December 19, 2024

What Is an Activity in Android, and Why Is It Important?


What Is an Activity in Android?

An Activity in Android is essentially a single screen that a user interacts with in an app. It represents one "thing" the user can do, such as viewing a list of items, composing a message, or displaying a photo. Every app in Android consists of one or more activities, and each activity is tied to a user interface (UI) that allows the user to interact with the app.

When you start an application, you usually begin in the MainActivity, which is the default entry point of the application. From there, you can navigate to different activities depending on the flow of the application.


How Does an Activity Work?

  • UI Component: Each activity is a container for UI elements that the user can interact with, such as buttons, text views, and images.
  • Activity Lifecycle: Every activity has a lifecycle that determines how the activity is created, paused, resumed, and destroyed. It means that knowing the lifecycle is quite important to ensure smooth transitions and memory management in your application.
  • Intent: To start a new activity or navigate between them, Android uses Intents. A message object is actually the intent that allows communication between the various components of an app including activities.

Why Are Activities Important in Android?

1. User Interaction and Navigation:

Activities represent the interactive screens of your app. Without activities, there would be no way for users to interact with the app or navigate between different sections. For example, one activity could display a login screen, and another could show a user’s profile. Activities make it easy to organize your app into logical, user-friendly screens.


2. Managing the UI and Business Logic:

Apart from UI, activities also manage the business logic related to those screens. For example, if a user clicks a button, an activity decides what happens next. That is all handled in the code of the activity itself, so it is quite important to the functionality of the application.


3. Resource Management:

The activities will be responsible for managing the app's resources, including memory and data. Handling the activity lifecycle appropriately allows developers to ensure that their apps run efficiently and don't waste unnecessary resources.


4.  the Back Stack:

The activity stack, also called the back stack, allows to navigate back into previously opened screens by using the back button. Activities get pushed and popped from this stack depending on how far the user navigates through the application. Managing the back stack accordingly is really important for getting a smooth and predictable experience.


5. Handling Configuration Changes:

Android devices are available in various screen sizes, orientations, and resolutions. Activities handle all these changes properly. If the device is rotated or if the app goes to the background, the activity makes sure that the app restores its state (e.g., user input or data).


6. Understanding the Activity Lifecycle

The Activity Lifecycle is a very important concept for developers when working with activities. It can be defined as the various states in which an activity exists from its time of creation. This state includes creation, running, paused, resumed, and destroyed.


Here are the most important lifecycle methods:


  • onCreate(): Called when the activity is first created. This is where you initialize your app's resources (like setting the layout and binding UI elements).
  • onStart(): Called when the activity is about to be visible to the user.
  • onResume(): Called when activity will start interacting with the user. The application is now visible on screen.
  • onPause(): Called when activity has become partially or fully obscured by another activity or app or something else and it cannot be interacted with unless that other window remains open.
  • onStop(): Called when activity is no longer visible to the user.
  • onDestroy(): Called when activity is in the process of being terminated.

Knowing these lifecycle methods is important for dealing with UI updates, saving data, and making sure the app works well through all stages.


Common Examples of Activities

MainActivity:

  • All Android apps have a MainActivity that serves as the entry point of the app. It's the first screen users view when opening the app. In most cases, the MainActivity serves as a "launcher" screen, leading to other activities within the app.


LoginActivity:

  • An activity that deals with the login interface. It usually has fields where the user can input his credentials and buttons to submit the information.


SettingsActivity:

  • A settings screen where the user can configure app preferences, like enabling/disabling notifications or changing the theme.


DetailActivity:

  • A screen that shows more information. For example, if the app is a news reader, DetailActivity might show a full article after a user taps on a headline in the list view.

Starting and Navigating Between Activities

Activities in Android are connected using Intents. An Intent is an object that provides a runtime binding between different app components, like activities. You can use intents to start new activities and pass data between them.

Here’s an example of how to start a new activity from MainActivity:


In this example, SecondActivity is launched when MainActivity triggers the intent.

If you need to pass data between activities, you can add extra information to the intent:


"Find Out What Your Website’s Missing – Let’s Talk Today"

Monday, December 16, 2024

Understanding the Basics of XML in Android Development


Android development, XML is of great importance in structuring an app's layout and configuration files. Whether it's designing the UI, setting up app resources, or managing settings, XML is the base from which Android apps are structured and displayed. This post will break down the basics of XML and its usage in Android development to get you started.

What Is XML?

XML stands for eXtensible Markup Language. This is a simple text format that stores and organizes data in a hierarchical format. XML is widely used on many technologies, and for Android, it is used as a definition for the UI, configuration settings storage, and resource management.

Why is XML Important in Android?

In Android, XML primarily serves the purpose of

  • Layout Design: It defines UI components like buttons, text fields, images, and much more.
  • Resources: They are used to store values such as strings, colors, dimensions, and other configurations throughout the application.
  • Manifest and Configuration Files: It contains settings of the application, permissions, and activity declarations in the AndroidManifest.xml.

Structure of XML in Android

An XML file contains a number of elements:
  • Tags: Tags are the building blocks of XML and are marked by angle brackets (< >).
  • For example: <TextView>.
  • Attributes: Tags have attributes that provide extra information like width, height, and text. 
  • For example: <Button android:text="Click Me" android:layout_width="wrap_content"/>.
  • Text Content: Some tags contain text content. 
  • For example: a TextView with a string to be displayed, <TextView android:text="Hello, World!"/>.
  • Most closing tags have their counterparts 
  • e.g: <TextView></TextView>.

Common XML elements in Android:

  • TextView: Shows text on the screen.
  • Button: Clickable button.
  • ImageView: Shows an image.
  • LinearLayout / RelativeLayout / ConstraintLayout: Layout containers to arrange UI components.
  • EditText: lets user input text.


Monday, December 9, 2024

Components of Android Architecture


Android is a mobile operating system that has an open-source framework and is based on Linux which helps us to develop advanced and user-friendly applications.

Now, we will begin with Android Architecture, it consists of five levels, which are the Linux kernel, Libraries, Application framework, Android runtime, and System applications.

i. Linux Kernel:

Linux kernel is the bottom-most and important layer of the Android architecture and it is the core part of Android architecture. It is also an open-source software, meaning we can freely access its code, modify it at our own convenience. This is designed to be portable supporting a wider range of hardware architectures, from embedded devices to supercomputers as well.


Linux Kernel provides features such as:

  • Security
  • Process management
  • Memory management
  • Device management

Multitasking

It also provides for a level of abstraction between device hardware and upper layers of Android architecture. This consists of device drivers like camera, flash memory, Display, keypad, Wifi etc.

ii. Libraries

This layer consists of a set of Libraries and Android Runtime. The Android component is built using native codes and require native libraries, which are written in C/C++ and most of the libraries are open source libraries. Also, this layer handles data that is specific to the hardware. Some of the native libraries are SSL, SQLite, Libc, OpenGL, media framework, FreeType and Surface Manager.


iii. Android Runtime

It consists of DVM (Dalvik Virtual Machine). Similar to JAVA using JVM, Android uses DVM for maximizing battery life, memory and performance. The byte code which is generated by the Java compiler needs to be converted into.dex file by DVM as it has its own byte code. Further, multiple class files are created as one.dex file and the compressed.jar file is more than the uncompressed.dex file.


It replaced Dalvik Virtual Machine when version 5.0 Android was released. Dalvik was a register based virtual machine especially designed for the Android operating system, and ART brought ahead-of-time compilation and many other features that were absent in Dalvik.


iv. Application Framework

The application framework built on top of the native library layer provides us with Application programming interface and higher-level services. Also, the features of the Android operating system are available to us through API’s written in form of JAVA classes. And, Android developers use these high-level services to build applications.


It also has an Android Hardware Abstraction Layer or HAL, which enables communication between the Android Application framework and hardware-specific device drivers. It is the interface, through which the hardware vendor can implement it. Android application uses HAL APIs to extract commands from different hardware devices.


The application framework incorporates the following key services:

  • Activity Manager: The method in this class uses the testing and debugging methods.
  • Content provider: It gives data from the application to other layers.
  • Resource Manager: It allows access to non-code resources.
  • Notification Manager: Users get notified of all that is happening in the background.
  • View System: This serves as a base class for widgets and also performs the responsibility of event handling.


v. Applications:

It is the top-most layer of Android architecture. This layer consists of native Android applications and third-party installed apps. They are bundled in an Android package and all the applications that are to be installed are written in this layer only such as contacts, games, settings, and messages.


Sunday, December 8, 2024

Types of Mobile App Development


Android development may be categorized based on the kind of applications you are developing, the tools and frameworks used, and the platforms to be targeted. The key types of Android development follow:


1. Native Android Development

This kind is specific in developing applications for the Android platform using the Android SDK, and platform-specific languages. In native apps, full use of OS and hardware features will maximize performance.

  • Languages: Java, Kotlin
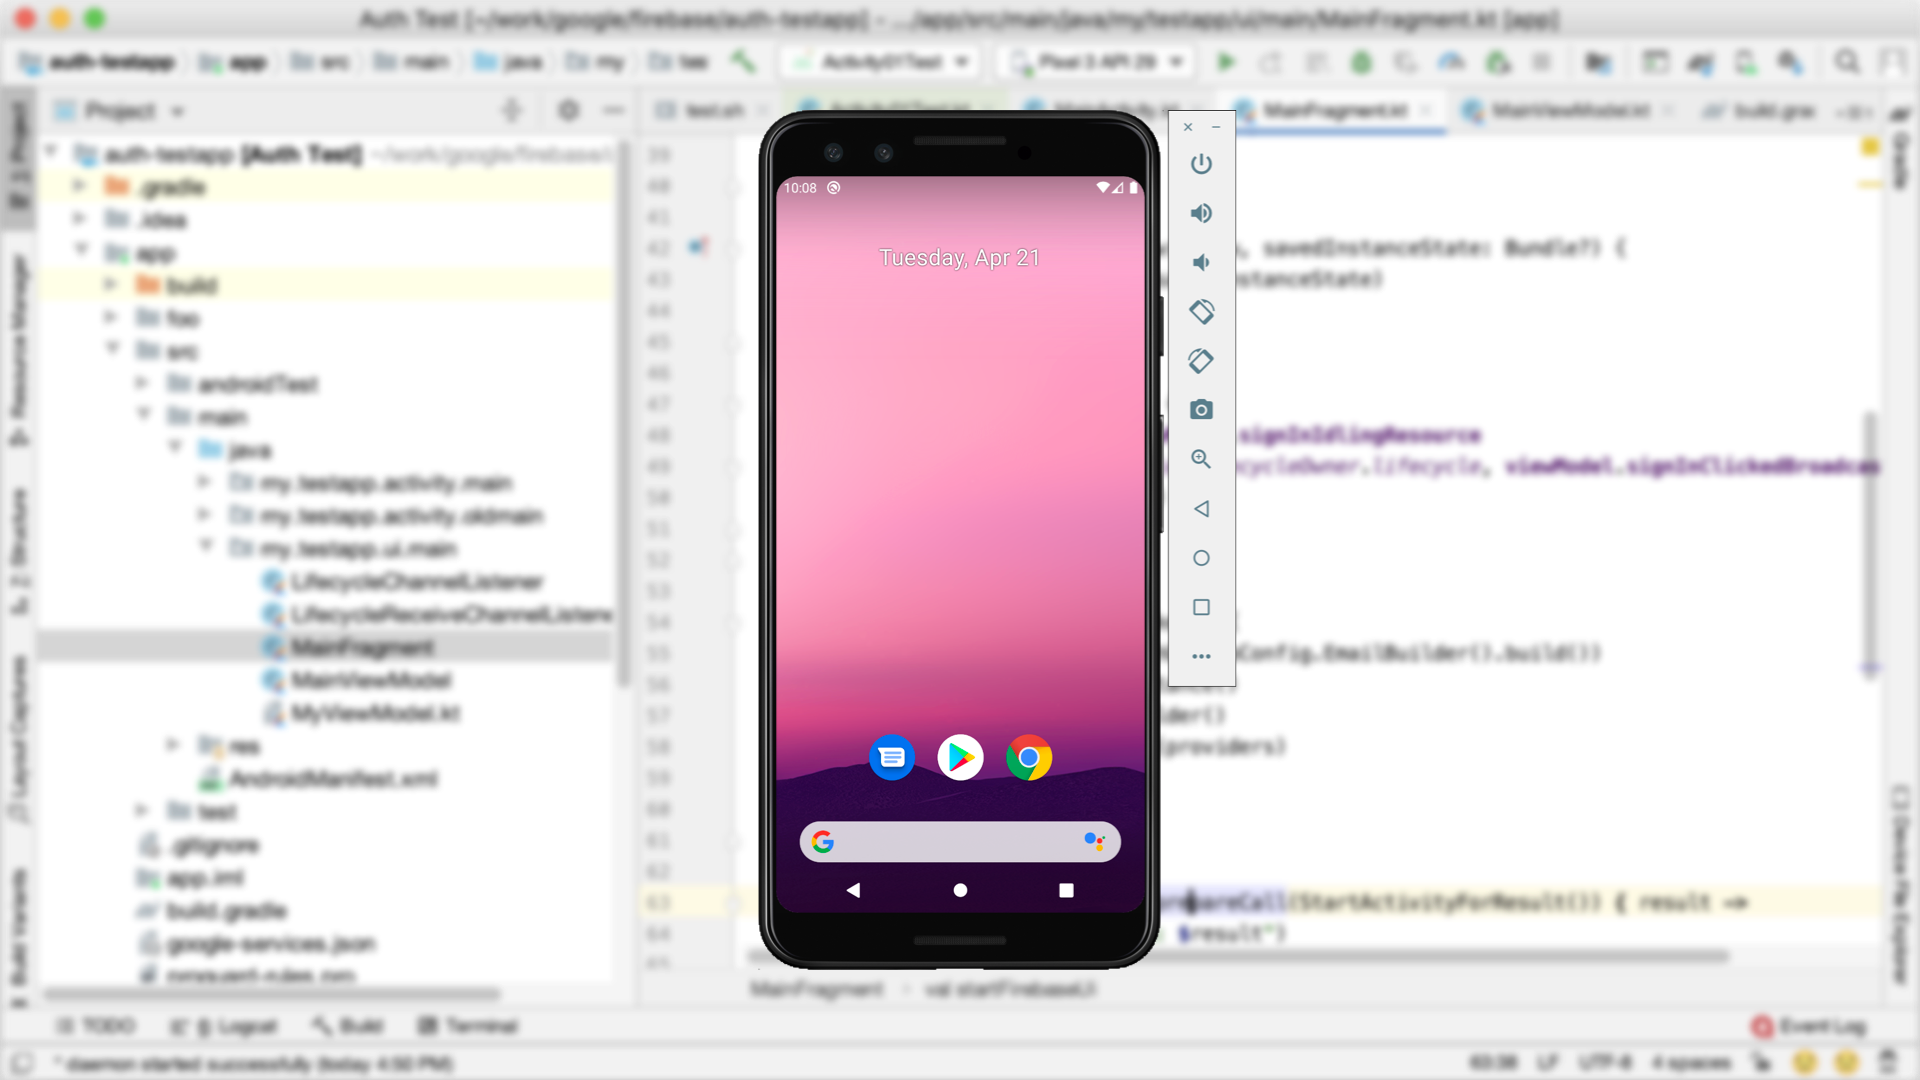
  • Tools: The primary tools that are utilized in this context include Android Studio, which serves as the Integrated Development Environment (IDE), alongside the Android Software Development Kit (SDK) and Firebase for backend services and real-time data synchronization.

  • Advantages: The advantages of using this development setup are significant; it offers high performance levels that can handle intensive processes seamlessly, provides full access to a wide range of device features such as the camera, GPS, and various sensors, and is specifically optimized to create user experiences that cater to Android users in particular.

  • Use Case: The ideal use case for this type of development includes applications that require exceptional performance and necessitate deep integration with Android hardware and features, including but not limited to interactive games and resource-intensive applications such as photo editors, among others.


2. Cross-Platform Android Development

Cross-platform development provides a huge advantage for developers in that they are able to create one codebase that can work beautifully on both the Android and iOS platforms, and sometimes also on other platforms like web and desktop environments. This approach thus reduces the overall development time and associated cost by allowing the maintenance of only one unified codebase rather than multiple distinct ones.


Cross-platform development frameworks include the following popular options. There is one of the prominent ones, Flutter, developed by Google.


Flutter uses the Dart programming language, which has been designed for high-performance applications.


The advantages of using Flutter are numerous and notable, including hot reload, through which developers can see their changes in real time; fast development cycles; expressive user interface (UI); performance levels comparable to native applications; and most importantly, a single codebase for both Android and iOS.

Use Case: Applications which need to run on both Android and iOS platforms, but at the same time, provide a rich and customised user interface experience. React Native (Developed by Facebook): Language: JavaScript, which is used in conjunction with the React framework. Advantages: This framework provides native performance for most tasks, allows for reusable code to be shared across different platforms, and has a big and active community that supports the framework. Use Case: Applications that stress the maintaining of UI consistency across both Android and iOS operating systems. A few examples include social media applications, e-commerce, and news-related apps. Xamarin (Developed by Microsoft): Language: C# programming language. Advantages: This platform allows for reuse of code, access to native application programming interfaces (APIs), and high performance capabilities.

Use Case: These are applications that are created for enterprise solutions, such as internal business applications as well as apps that extensively use C#.

Ionic:

Language: The languages that are used in this framework are JavaScript, TypeScript, HTML, and CSS.

Advantages: One of the main advantages is that it uses web technologies to create applications, easily supports frameworks like Angular or React, and also supports native functionality through the use of plugins.

Use Case: These are applications that can be deployed both as a web application and mobile application with only minor adjustments necessary to do so.

3. Hybrid Android Development

Hybrid development offers developers the opportunity to create mobile applications through web technologies like HTML, CSS, and JavaScript. Then, these applications are put into a native shell so they can run smoothly on an Android device.


There are some frameworks that make this happen:


Apache Cordova, which is also called PhoneGap, is a strong platform designed strictly for the purpose of creating hybrid applications using HTML, CSS, and JavaScript.


Framework7 is a framework that allows developers to build hybrid mobile applications through web technologies, which offers features that provide experiences just like native mobile applications.

Benefits: The development process is dramatically accelerated by the use of web technologies, which makes it much faster than any other approach; besides, this approach is highly easy to maintain in the long run, making it possible to update and change with efficiency. Besides, these applications are capable of being used not only as mobile applications but also as web applications, thus giving flexibility in their use across different platforms.


Use Case: This development approach is best suited for applications that have less complex functionality and place a premium on fast development timeframes, which includes categories like information applications that provide valuable content, news apps that keep users updated with the latest information, and basic tools that help with simple tasks.


4. Android Wear (Wear OS) Development

Wear OS is a more advanced variant of the Android operating system specifically designed and optimized for use with smartwatches and many types of wearables. The development of an app under Wear OS would focus on developing applications that work fine on smaller screens; therefore, the apps require extra fine-tuning because such devices often offer few ways in which users can input what they want to do.

In terms of tools used in such a development, the environment where most of the coding will take place will be the Android Studio. Moreover, it will have at its disposal the Wearable Support Library, which would allow further resources for building functional apps.

Java and Kotlin are the two languages often used in such environments; therefore, they can very easily help develop applications under the Android family of systems.

As far as the use cases, apps under Wear OS may serve several applications. They may work on fitness tracking, providing users with notifications, and the developing applications that make use of numerous sensors, like in a heart rate monitor or a wearable that would cooperate smoothly with a mobile app.


5. Android TV Development

Android TV is the customized version of the Android operating system, especially designed for the television screen. This platform provides a user-friendly and expansive interface that is optimized for large screens and functionality for remote control input. The process of developing applications for Android TV requires developers to focus on creating applications that include specific user interface elements and control schemes suitable for this environment.


The necessary tools used in this development process include Android Studio, which is the official integrated development environment, and the Leanback Support Library, which provides additional support for designing TV apps. The programming languages most commonly used in this process are Java and Kotlin, both of which are very effective for creating robust Android applications.


In practical applications, the primary use cases for Android TV include media applications such as popular streaming services like Netflix and YouTube, games that have been carefully optimized to provide an enjoyable experience on TV screens, in addition to various smart TV applications that enhance the viewing experience.


6. Android Auto Development

Android Auto is an application that is specialized, tailored especially for automotive use and contains applications with perfect integration in the automobile's infotainment system. Android Auto applications have been created for the specific aim of offering convenience and easy accessibility of numerous necessary services to a driver such as navigation, messages, playing music, as well as communicating and at the same time it does this by prioritizing safe and free-hand driver attentiveness while on the road.


Typical tools applied in Android Auto applications' development process are Android Studio and Android Auto API for the purposes of designing and integrating Android Auto applications. Languages applied to write this application are majorly Java and Kotlin due to the requirements of having an ideal android application .

One good example for the Android Auto application usage can be applications which support the way drivers navigate such as Google Maps as well as those which have audio or media streaming along with voice applications which have increased the quality of their services but, at the same time, offer safety as well as convenient drivers' time while traveling .

7. Game Development for Android

Game development primarily concentrates on the intricate process of creating engaging and interactive games specifically designed for Android devices. This endeavor frequently necessitates the use of specialized tools and frameworks that are adept at managing various crucial aspects such as graphics rendering, performance optimization, and user interaction dynamics.

The tools commonly utilized in this field include prominent software solutions like Unity, Unreal Engine, and Cocos2d, which provide developers with powerful capabilities to bring their creative visions to life.

The programming languages that are typically employed in this development process comprise C#, C++, Java, and Kotlin, each offering unique features suited for different game development needs.

In terms of use cases, the range of games developed can include both two-dimensional (2D) and three-dimensional (3D) formats, encompassing everything from casual, simple games to more complex, high-performance titles that require intensive graphic processing capabilities.


8. Android App for IoT (Internet of Things) Development

Android IoT development refers to the process of developing applications that are able to communicate and interact with a number of devices related to the Internet of Things, including smart home devices, wearables, and others using connectivity such as Bluetooth, Wi-Fi, or any other suitable communication protocol.


The essential tools used during this process are Android Studio-a powerful integrated development environment (IDE)-in addition to Bluetooth API and Wi-Fi Direct API for establishing connectivity and interaction with these devices.


The languages used to write these kinds of applications are mainly Java and Kotlin, both offering strong frameworks for creating fully functional and user-friendly applications.


Use cases include smart home apps, fitness tracker devices, among others created specifically to control or monitor the performance and status of Internet of Things devices.


9. Android App Development with AI/ML

With the new usage of AI and ML, the development of applications in Android has emerged to develop applications with intelligent and advanced features that include speech recognition, image processing, and advanced recommendation systems. 

The support tools to do this are powerful resources like TensorFlow Lite and ML Kit from Firebase.

The programing languages in this field include both Java and Kotlin that provide heavy support for developing these new applications.

A wide range of applications arise with the use of AI wherein users include voice assistants that can command through voice and understand what was commanded; image recognition for the recognition of objects or people in pictures; chatbots for real-time interaction with users; instant translation services, etc.

10. Augmented Reality (AR) Android Development

AR Android development enables apps to merge digital content with the real world. Android developers use AR technology to create immersive and interactive experiences for users.

Tools: ARCore (by Google)

Languages: Java, Kotlin

Use Case: Games (e.g., Pokémon GO), virtual try-on features for shopping, real estate apps with 3D visualizations

"Find Out What Your Website’s Missing – Let’s Talk Today"

Friday, December 6, 2024

Why Android Development Importent?


Why is Android Development Important?

Android development has a significant and vital position in the extensive landscape of technology for many valid reasons. The fact that there is massive use of Android devices globally makes it one of the primary and critical areas. Additionally, flexibility that Android development offers to developers is another critical factor contributing to its importance. Here are some of the reasons that show why Android development is important:


1. Massive Global User Base

Android dominates the mobile market: With billions of active devices worldwide, Android powers the majority of smartphones, tablets, smart TVs, and even vehicles. This broad user base provides developers with an opportunity to reach a vast audience, whether for a business app, game, or service.


2. Open-Source Platform

Customizable and Accessible: Android is open-source, which means developers have access to its source code and can customize it to meet specific needs. This openness fosters innovation, collaboration, and the ability to modify the operating system for specific hardware or use cases, making it highly flexible.


3. Diverse Range of Devices

Multiple Platforms: Android is not limited to just phones. It runs on a wide variety of devices, including wearables (smartwatches), TVs (Android TV), cars (Android Auto), and even appliances. This allows developers to build apps that work across multiple platforms and devices, increasing their reach and impact.


4. Growing Market for Apps

Massive App Ecosystem: The Google Play Store is home to millions of apps, offering significant opportunities for developers to create apps that solve real-world problems, entertain, or enhance productivity. With the increasing demand for mobile apps, Android development has become a thriving industry.


5. Cost-Effective Development

Lower Entry Barriers: Compared to other platforms like iOS, Android development tends to be more cost-effective, especially for developers in regions with lower development costs. This accessibility allows a wider range of developers, from small startups to large companies, to build and distribute their apps.


6. Support from Google

Tools and Resources: Google provides extensive support for Android development, offering tools like Android Studio, Firebase for backend services, Google Play Console, and a wealth of documentation and APIs. This makes it easier for developers to create high-quality apps with robust features and excellent performance.


7. Opportunities for Innovation

Constant Evolution: The Android operating system is regularly updated with new features, APIs, and capabilities, which provides developers with fresh opportunities to build innovative and cutting-edge apps. From AI integration to IoT (Internet of Things) and augmented reality, Android's adaptability drives technological advancements.


8. High Revenue Potential

Monetization: Developers have multiple ways to monetize Android apps, from direct sales and in-app purchases to advertising and subscriptions. The vast user base and variety of monetization options create ample revenue-generating opportunities for developers and businesses.


9. Customization and Personalization

User Experience: Android gives developers the freedom to create unique user experiences. Customizations in the design, features, and functionality of apps make it possible to cater to different audience preferences, industries, and use cases, providing flexibility and personalization.

"Find Out What Your Website’s Missing – Let’s Talk Today"

Customizing UI with Material Design in Android

  1. What Is Material Design? Material Design is a design system based on: Motion: It is meaningful animations that guide user interaction. ...